
Introduction
Encountering bent pins on a CPU can be a nerve-wracking experience, especially considering how delicate and crucial these components are. Bent pins can prevent your CPU from making proper contact with the motherboard, potentially rendering your computer inoperable. However, fixing bent CPU pins is often possible with patience, care, and the right tools. This article provides a detailed guide on how to fix bent pins on a CPU safely and effectively.
Tools and Materials Needed
- Magnifying glass or microscope
- Plastic or wooden toothpick
- Fine-tipped tweezers
- Mechanical pencil (without lead)
- Credit card or business card
- Patience and steady hands
Step-by-Step Guide
1. Assess the Damage
Before you get started with the repair process, it is crucial to assess the extent of the damage. Using a magnifying glass or microscope can help you see how many pins are bent and in which direction they are twisted.
2. Prepare Your Workspace
Make sure you are working in a clean, static-free environment. Ground yourself to avoid any static electricity damage by using an anti-static wrist strap or touching a grounded metal object.
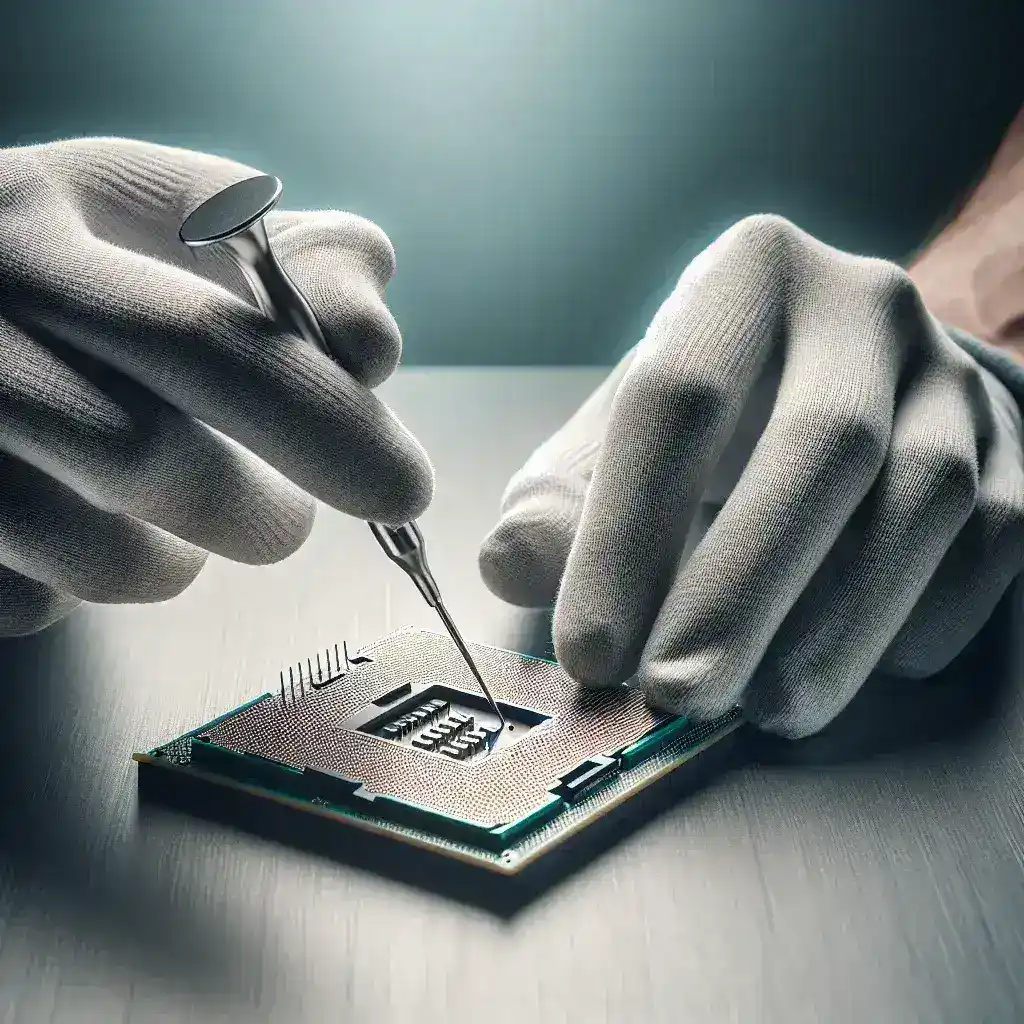
3. Aligning the Pins
There are different methods to realign the pins depending on their state and your comfort level with the tools:
Using a Mechanical Pencil
A mechanical pencil without lead can be a perfect tool for straightening individual pins. Fit the hollow end of the pencil over the bent pin and gently bend it back into place.
Using Tweezers
If you have several bent pins, fine-tipped tweezers can be more effective. Gently grip the bent pin and carefully bend it back to its correct position.
| Methods | Tools | Difficulty |
|---|---|---|
| Mechanical Pencil | Mechanical pencil (without lead) | Medium |
| Tweezers | Fine-tipped tweezers | Medium |
| Toothpick | Plastic or wooden toothpick | Easy |
Using a Toothpick
A plastic or wooden toothpick can also be used to gently straighten a pin by carefully pushing it back to its alignment.
Using a Credit Card or Business Card
If several pins are bent, you might want to use a credit card or business card to align multiple pins at once. Slide the edge of the card between the rows of pins and carefully nudge them back into place.
4. Perform Visual Inspections
After straightening the pins, perform a thorough visual inspection to ensure that all pins are aligned properly. Utilize a magnifying glass or microscope during this inspection.
5. Test the CPU
Once you are confident that all the pins are straightened, carefully install the CPU back into the motherboard. Make sure it fits into the socket without any resistance. If it does not, verify that all pins are perfectly aligned.
Preventing Future Bent Pins
Handle with Care
Always handle the CPU by its edges and avoid touching the pins to prevent them from bending.
Store Safely
If you need to store the CPU, use a protective casing or an anti-static bag to keep it safe.
Proper Installation
When installing the CPU, ensure that it is aligned correctly with the motherboard socket to prevent any force that might bend the pins.
Conclusion
Fixing bent pins on a CPU requires patience, precision, and the right tools. By following this guide, you can successfully repair your CPU and get your computer back up and running. Remember, careful handling and proper storage can go a long way in preventing bent pins in the future.