
Connecting a laptop to a desktop PC can be immensely useful for a variety of reasons, including data transfer, sharing peripherals, or even utilizing a laptop screen as a secondary monitor. One of the most straightforward ways to achieve this connectivity is through a USB connection. In this guide, we’ll walk you through the step-by-step process to connect a laptop to a desktop PC via USB.
Why Connect via USB?
USB connections are ubiquitous and provide numerous advantages:
- Ease of Use: USB connections are simple to setup and require minimal technical knowledge.
- Speed: High-speed data transfer capabilities, especially with USB 3.0 or higher.
- Versatility: Allows for both power supply and data transfer through a single cable.
Prerequisites
Before diving into the process, ensure you have the following:
- A USB data transfer cable (often known as a USB-to-USB bridge cable)
- Both your laptop and desktop PC must have available USB ports
- Data transfer software installed on both machines (often comes with the USB data transfer cable)
Step-by-Step Guide
Step 1: Acquire a USB Data Transfer Cable
You will need a special type of USB cable called a USB data transfer cable. These cables often come with their own software to manage the transfer process. Be cautious of using a regular USB cable, as it will not work for data transfer between two computers.
Step 2: Install Software
Many USB data transfer cables come with proprietary software. Install this software on both your laptop and desktop PC as instructed in the cable documentation.
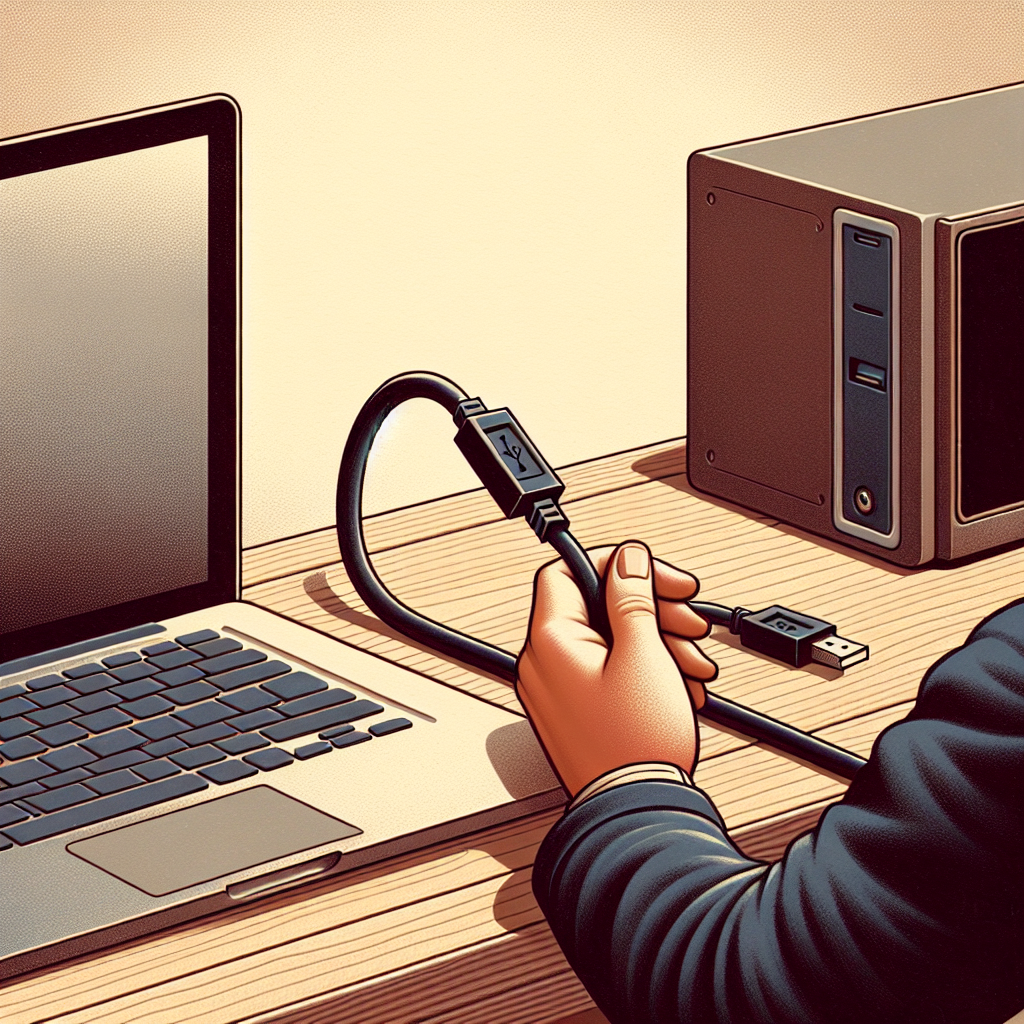
Step 3: Connect the Cable
Plug the USB data transfer cable into an available USB port on both your laptop and your desktop PC.
Step 4: Run the Software
Launch the data transfer software on both computers. The software should automatically detect the connection and guide you through the transfer process.
Step 5: Select Files to Transfer
Using the software interface, choose the files and folders you want to transfer. The speed of transfer will depend on the USB version (USB 2.0, 3.0, etc.) and the size of the files.
Step 6: Complete the Transfer
Follow the on-screen instructions to complete the file transfer. Once done, safely eject the USB cable from both devices to avoid any potential data corruption.
Troubleshooting Tips
If you encounter issues, here are some common troubleshooting steps:
- Check the USB Ports: Ensure that the USB ports are functioning correctly.
- Update Drivers: Make sure that all USB drivers are up-to-date.
- Verify Cable: Confirm that the USB data transfer cable is not damaged.
- Restart Your Devices: Sometimes a simple restart can resolve connectivity issues.
Alternatives to USB
If USB transfer does not meet your needs, here are some alternatives you might consider:
| Alternative | Benefits | Drawbacks |
|---|---|---|
| Ethernet Cable Connection | Fast data transfer rate, stable connection | Requires network setup, more complex |
| Cloud Storage | Accessible from anywhere, no physical connection needed | Dependent on internet speed and storage limits |
| External Hard Drive | Large storage capacity, portable | Additional cost, slower than direct USB connections |
Conclusion
Connecting a laptop to a desktop PC via USB is an easy and efficient way to transfer files and share resources between the two devices. By following the steps outlined in this guide, you can ensure a smooth and trouble-free connection. Whether for personal use or work, this method offers a quick solution to your data sharing needs.